Shrink Your Photos for Faster Websites Using PicMonkey
Shrink Your Photos for Faster Websites Using PicMonkey
 Have you ever tried to stuff an elephant into a box? Me neither, but I think it would be difficult. Have you ever uploaded a photo to WordPress (or anywhere online) and noticed it looked funny? Maybe squished, stretched, jagged, cropped or blurry? Me too!
The main reason is that graphic and web designers have tried to make websites display images in a unified manner like on Pinterest or Facebook. Programmers make images fit a certain area or shrink to a certain size.
Likewise, some websites have your uploaded photos set to show up at certain size so no matter how big the image is, it automatically shrinks it. OR WORSE, ENLARGES IT! This causes the photo to become pixelated and crappy.
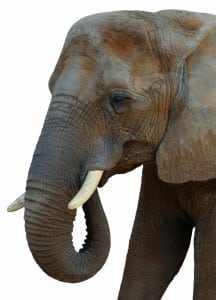
WordPress, specific themes, and plugins, will take any photo you upload and process several versions for you to be able to display as a featured slider on the home page, in the page or post, at a medium or small resolution, and even a square thumbnail. The elephant image (above right) was originally 800 pixels wide, but I chose to display the image at 216 pixels wide. It is a different image and not a forced size image increasing load speed for the visitor.
I’m a Business Owner, Not a Graphic Designer!
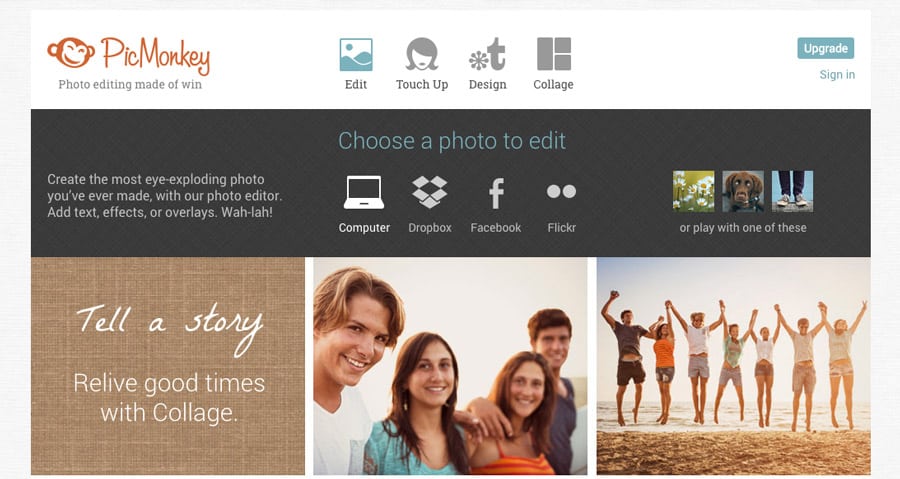
If you’re not a graphic designer and don’t have access to Photoshop or other special image editing software, have no fear! PicMonkey* is here!
The goal is to make sure your image is as close to the actual size it will display online as possible. An image that is fresh out of your 6 Megapixel Camera uploaded to a website could not only bog down the site and error-out, but could potentially create a huge webpage for people to view.
The Example
Let’s say you are adding a new image to your homepage where there are large images for your slides. The main trick is to figure out how big the image standard is. On a Mac, you can hit <command>+<shift>+<4> and a crosshair will show up. Move your mouse to the top left and click-drag to the bottom right and hold until you can see the measurements. You can also do a screen shot and we can figure it out in PicMonkey.
First though, lets assume you’ve got the dimensions needed. For our example, we’ll say an image 930 wide by 305 tall.
1. Go to PicMonkey Click on “Edit” and upload from Computer, Dropbox, Facebook or Flickr.
3. Upload your photo (should be bigger than 930, but can be a little smaller as we’ll resize. Smaller images may make for jagged larger images, however.)
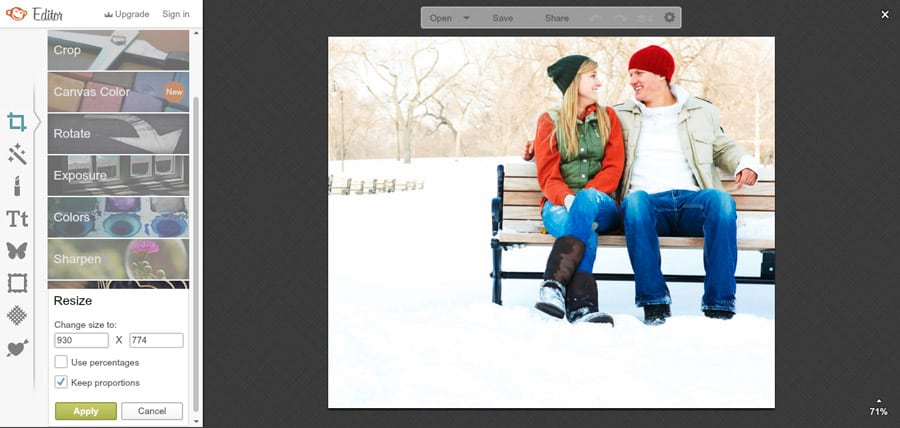
4. At the bottom, start with ‘resize’ so that it is either wide enough OR high enough. At this point, it’s about making sure the size is big enough both ways. Resize to 930 wide OR 305 High (where it may be MORE than 930 wide). Keep Proportional ON.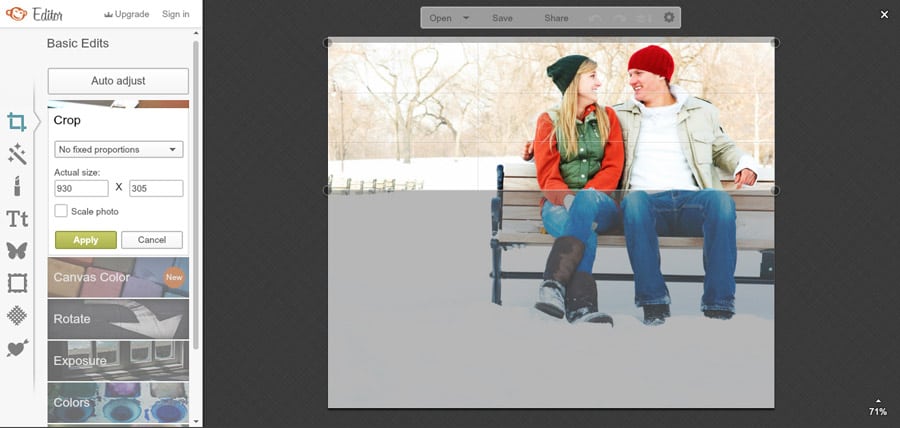
5. Crop the photo (at top) and enter 930 x 305 and reposition selected area that makes sense.
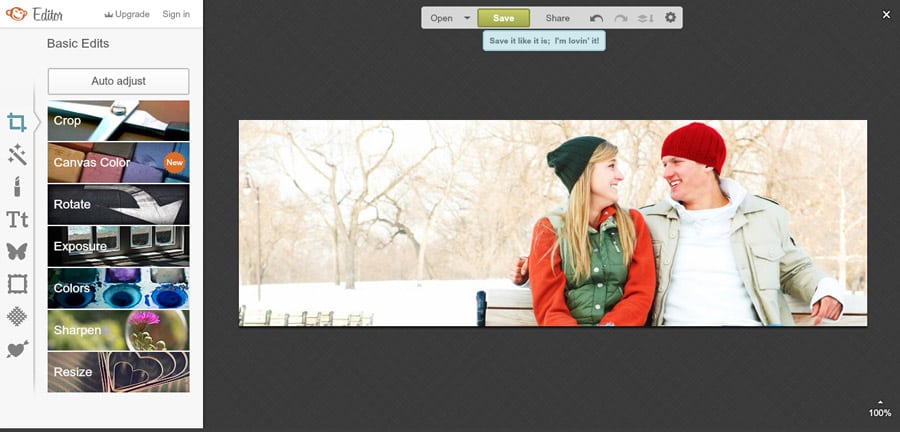
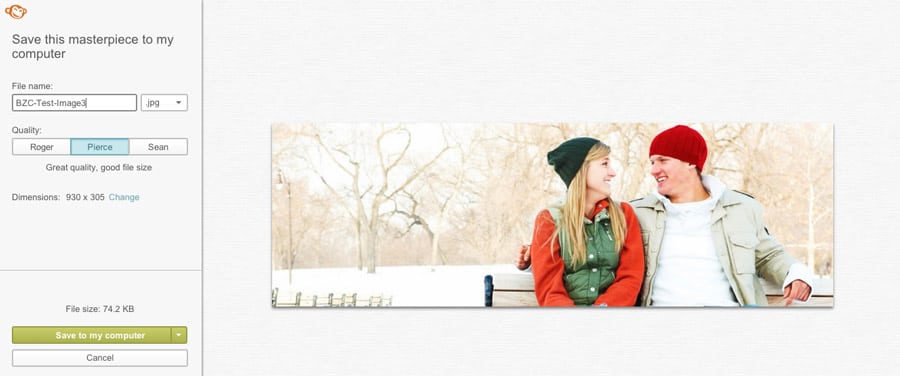
6. SAVE! Use at least the medium resolution (or what PicMonkey calls “Pierce”)
That’s it! Now your image is ready to use on whichever platform you want.
Even if you are a graphic designer and have Photoshop, it’s a pretty easy and slick tool for quick work or when you’re away from your own computer (and software).
Let us know if this was helpful in the comments below and if you’d like more tips and tricks for your website or online presences management.
Remember, Quit Monkeying Around! Join the Zoo.
*Our PicMonkey link is an affiliate link. Blue Zoo Creative does get a commission if you buy a subscription. However, PicMonkey is FREE to use for everything we mentioned in our tutorial above. We also love the fact that it fits with our Zoo theme!